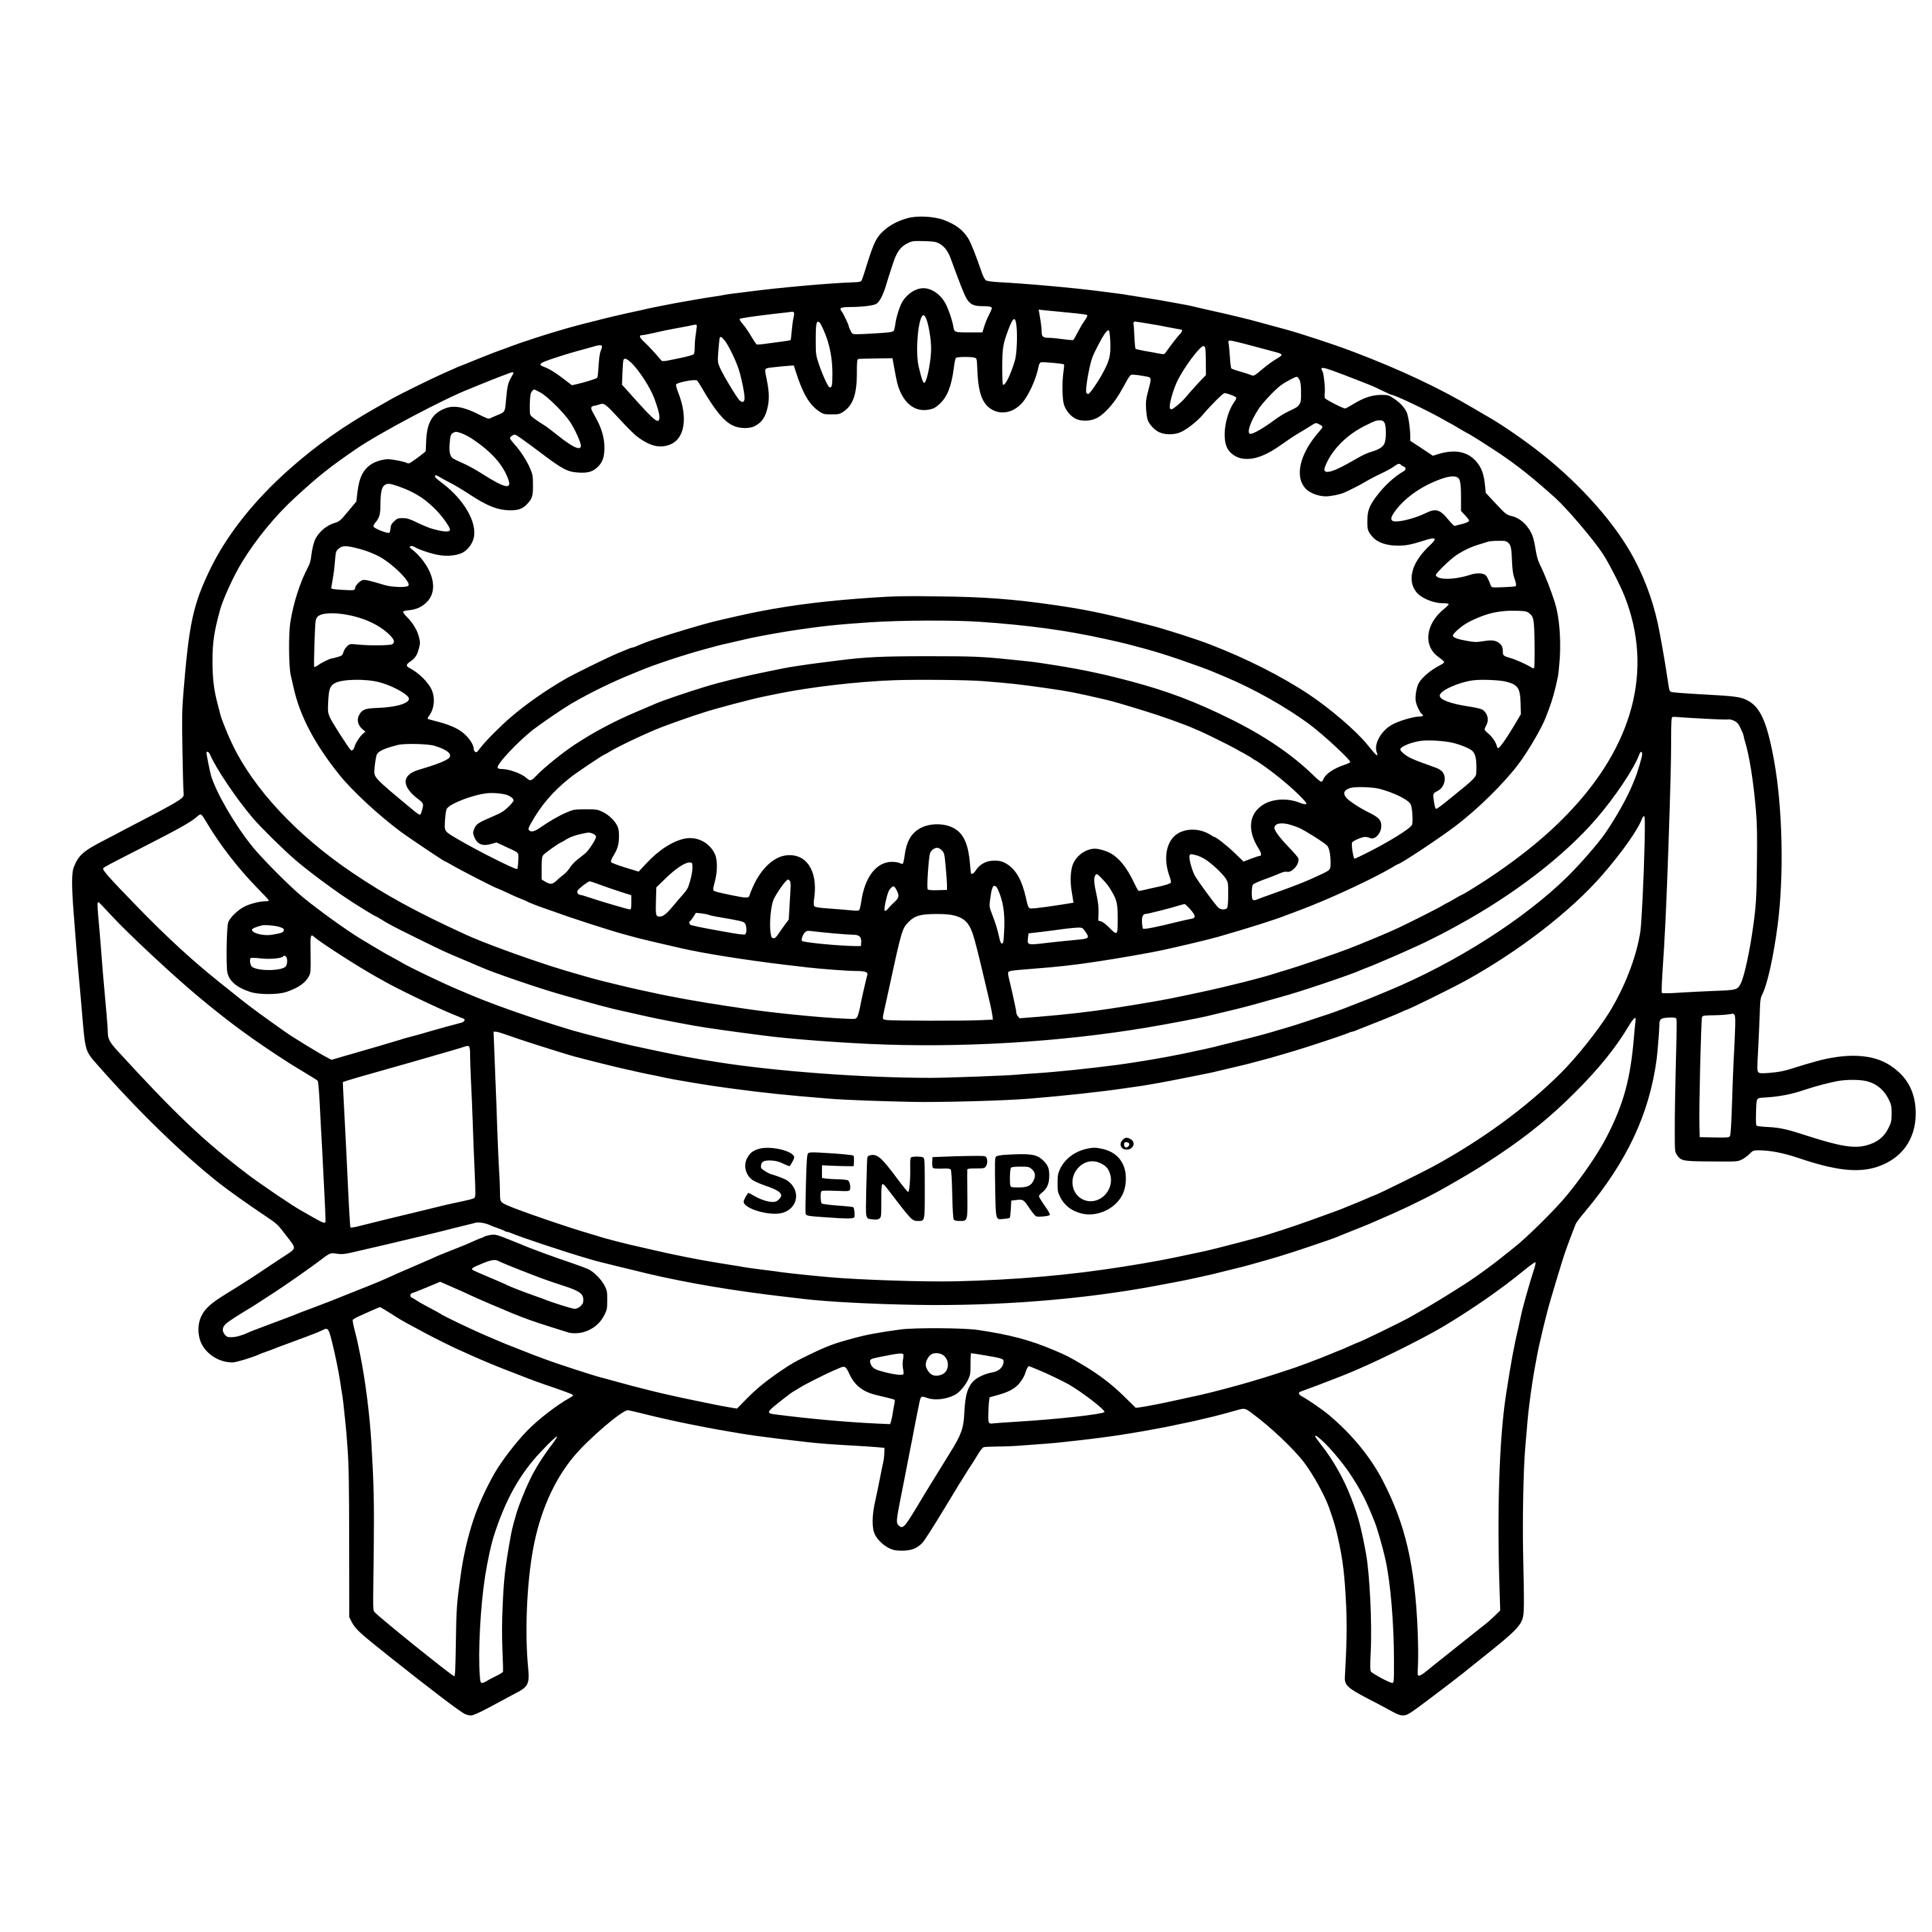
Circular knitting machines like the Sentro 40-pin and Sentro 48-pin have revolutionized DIY yarn crafting. If you have recently unboxed your machine or are looking for quick, satisfying makes that don’t require complex flat panel seaming, Tube Mode (“T” setting) is your best friend.
In this comprehensive guide, inspired by the popular video tutorial by ikoxun on YouTube, we break down 4 stylish, beginner-friendly projects you can knit in under an hour:
- Classic Double-Layer Reversible Beanie (130 Rows)
- Trendy Striped Cat Ear Beanie (110 Rows)
- Cozy Seamless Tube Scarf (340–450 Rows)
- Summer Halter Tube Top (105 Rows)
Let’s dive into the essential tools, universal cast-on techniques, and step-by-step instructions for each project!

Materials and Tools Checklist
Before casting on, gather the following supplies:
- Knitting Machine: Sentro 40-pin or Sentro 48-pin circular knitting machine (set to T – Tube Mode)
- Yarn:
- Main Working Yarn: Worsted Weight (#4 medium yarn) or light bulky yarn with smooth glide (e.g., acrylic or cotton blend)
- Scrap / Waste Yarn: High-contrast color in a similar weight (approx. 20–30 rows per project)
- Tension Setting: Middle tension hole (recommended for standard #4 worsted yarn)
- Accessories:
- Tapestry / darning needle
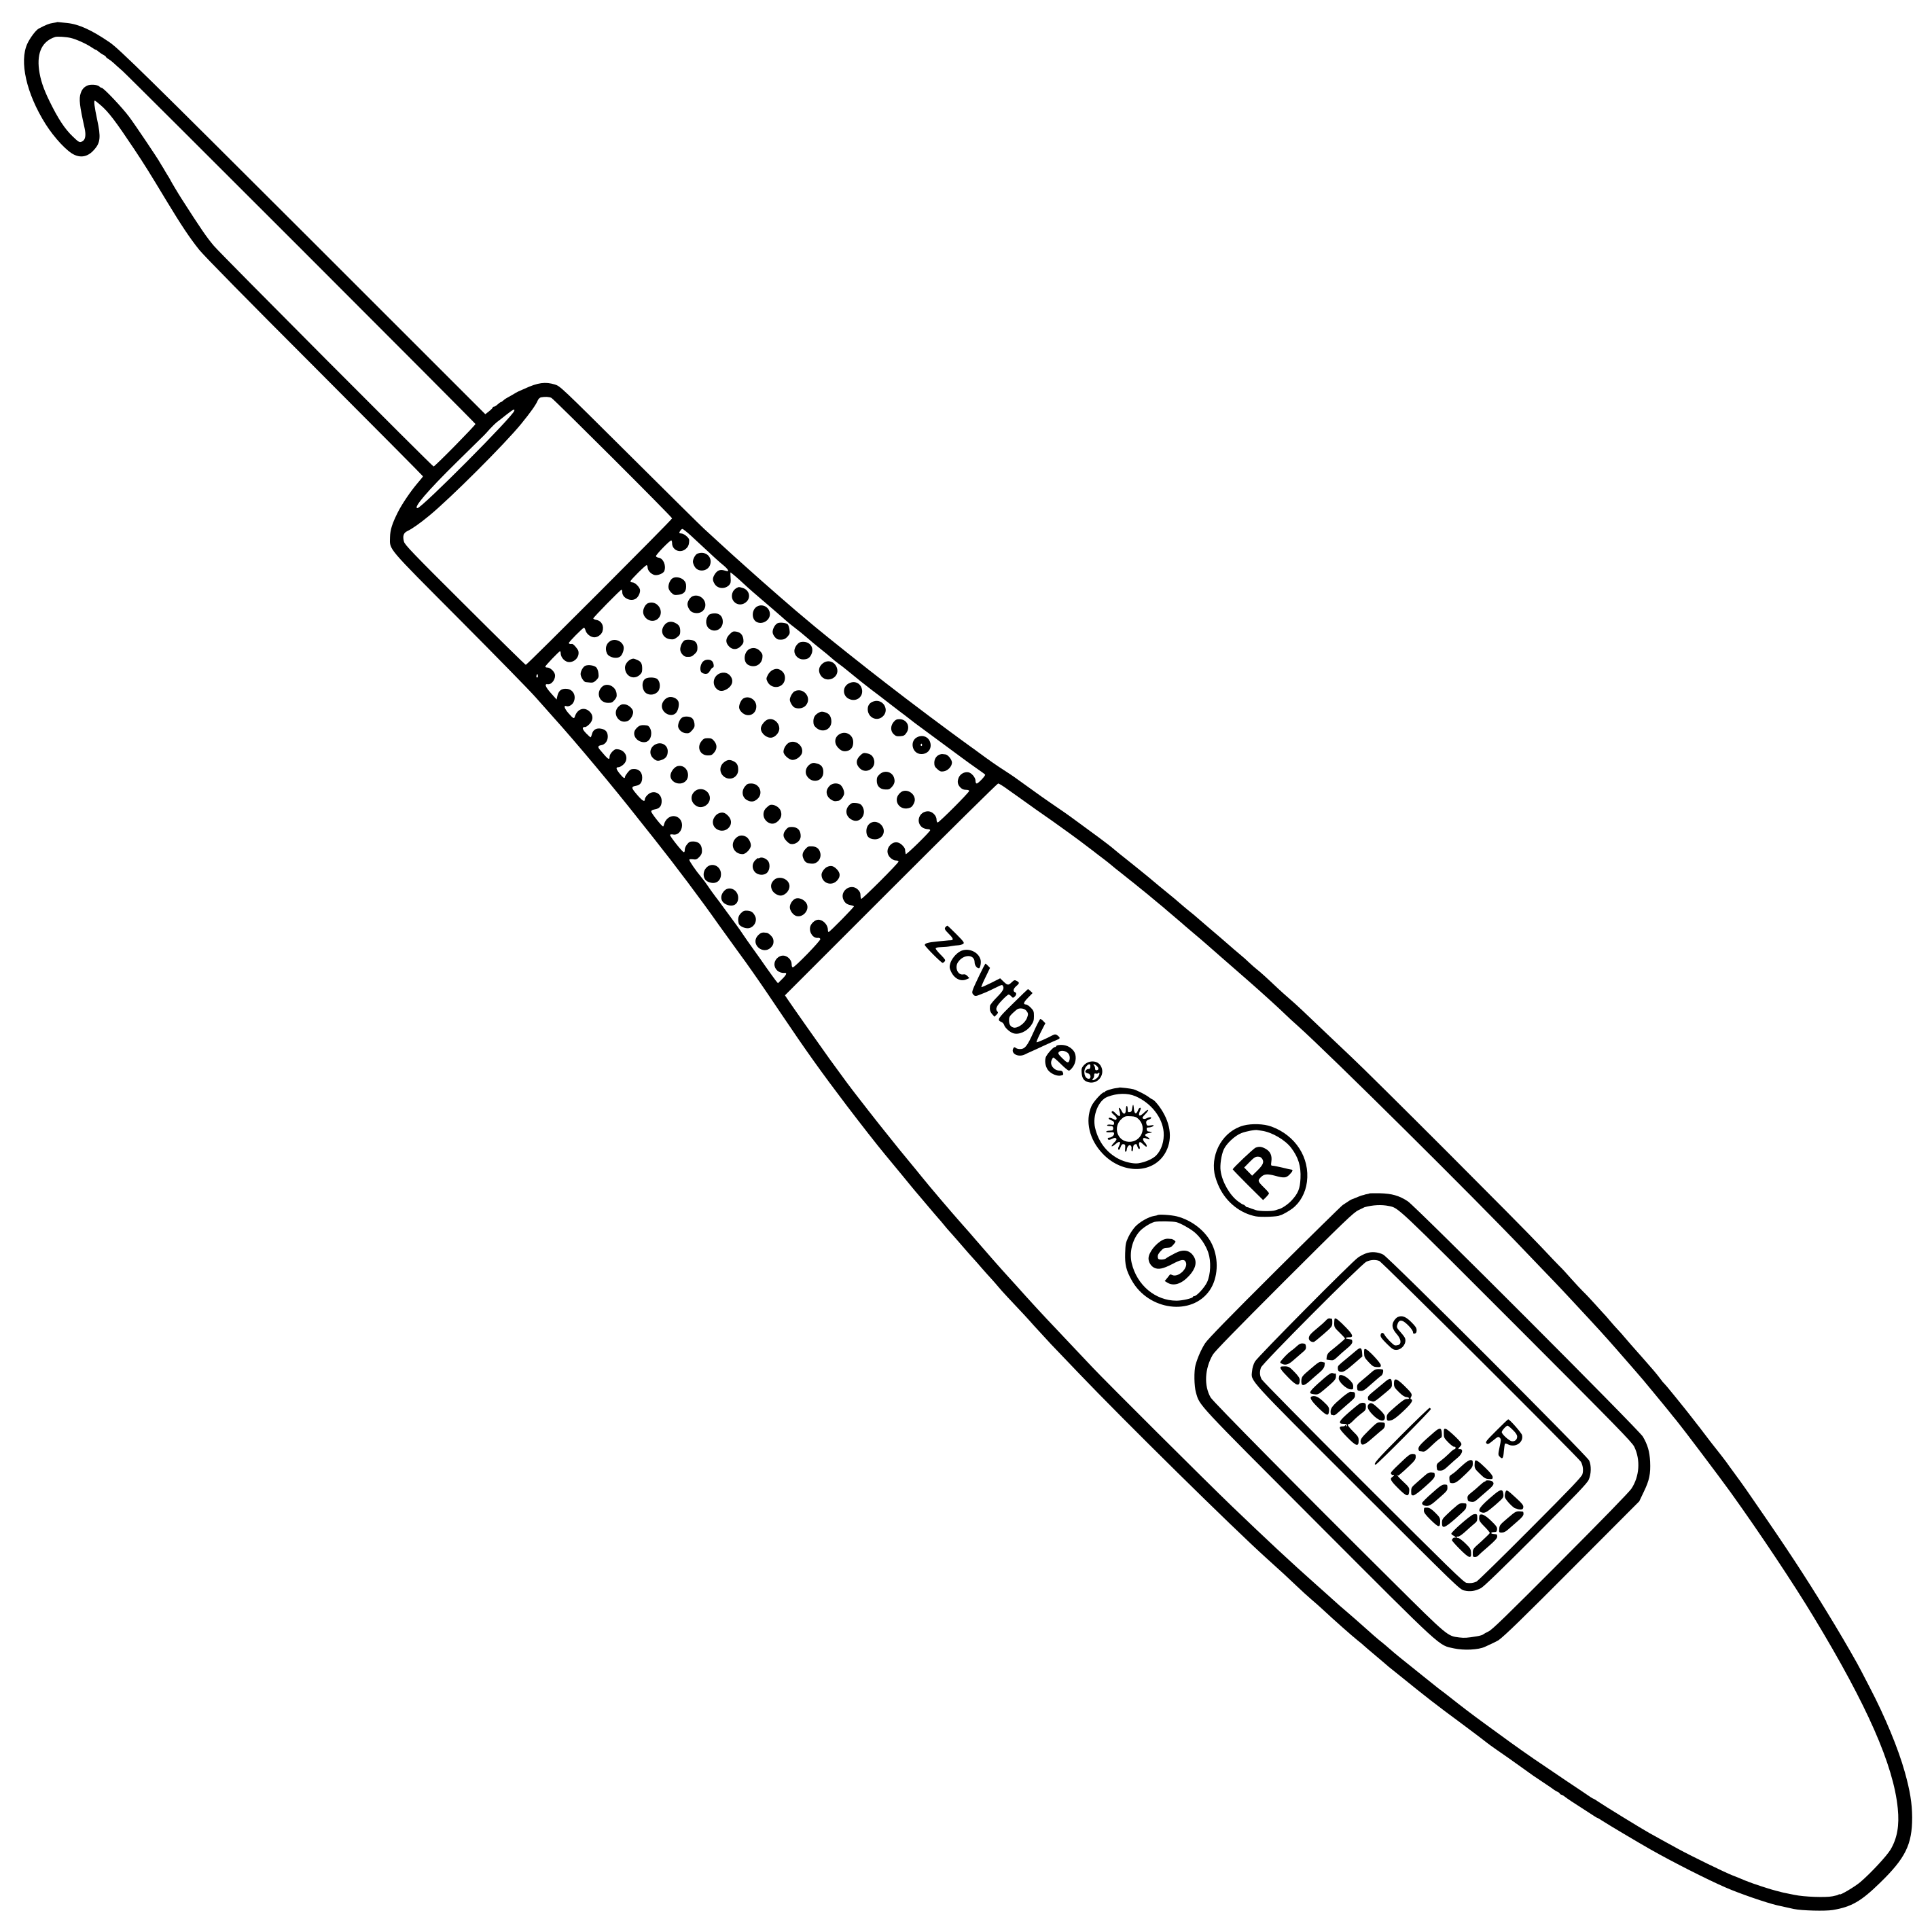
- 4.0 mm – 5.0 mm crochet hook
- Sharp yarn scissors
- Built-in mechanical row counter (or manual counter app)
The Universal Cast-On & Waste Yarn Method
Using scrap yarn (waste yarn) at the beginning and end of your circular knitting protects live loops, prevents dropped stitches on row 1, and creates clean, professional edges.

Step 1: Cast On with Scrap Yarn
- Set the machine toggle switch to “T” (Tube Mode).
- Turn the crank handle clockwise until the white starter needle is just to the right of the yarn guide.
- Thread your scrap yarn under the white needle, leaving a 10–12 inch tail inside the machine center.
- Crank slowly and weave the yarn in front of (over) the next needle, behind (under) the next, alternating all the way around 360 degrees until returning to the white pin.
- Place the yarn into both slots of the pink yarn holder and route through the middle tension slot.
- Crank slowly for 10 rows of scrap yarn.
Step 2: Switching to Main Working Yarn
- Remove the scrap yarn from the yarn guide and place it to the left of your stopping needle.
- Insert your main project yarn into the yarn guide and place it under the needle directly to the right.
- Reset your row counter to 000.
- Crank smoothly for the designated row count. (After row 10–15, you can crank at normal speed).
Project 1: Classic Double-Layer Beanie (130 Rows)
A plush, seamless, double-thick beanie that keeps you warm all winter.

- Mode: Tube Mode (T)
- Total Project Rows: 130 rows of main yarn (+ 10 rows waste yarn at start and end)
- Cinching Method: Tapestry needle drawstring cinch
Step-by-Step Instructions:
- Knit the Body: Cast on 10 rows of scrap yarn, attach your main color, reset counter, and crank for 130 rows.
- Bind Off with Waste Yarn: Switch back to scrap yarn and crank for 10 rows. Cut yarn, crank 2 empty rotations until the tube drops off the machine.
- Pick Up Live Stitches: Thread your long main-color tail onto a tapestry needle. Pick up each live loop of the main color right below the scrap yarn. Once all loops are secured on the yarn tail, pull off and discard the scrap yarn. Repeat on the opposite end.
- Fold and Cinch: Push one half of the tube inside the other to create a double-layered tube with both open ends aligned at the top.
- Close the Crown: Pull the inner drawstring tightly to close the inside gap, then pull the outer drawstring to close the outer crown. Knot both tails securely, weave back and forth through the crown stitches, trim excess, and turn the beanie inside out.
Project 2: Striped Cat Ear Beanie / Square Beanie (110 Rows)
Square-top beanies are a viral trend on TikTok and Instagram. When placed on your head, the flat top corners naturally poke out into adorable “cat ears.”
- Mode: Tube Mode (T)
- Total Project Rows: 110 rows (e.g., alternating 3 colors every 5 rows)
- Finishing Method: 4-layer crochet slip stitch seam
Step-by-Step Instructions:
- Knit Striped Body: Start with 10 rows of waste yarn. Switch to Color A and knit 5 rows; switch to Color B and knit 5 rows; switch to Color C and knit 5 rows. Repeat this stripe pattern up to 110 total rows.
- Pro Tip: Keep color change knots aligned in the same needle column to create a clean back seam.
- Cast Off: Add 10 rows of scrap yarn and drop the work off the machine.
- Fold Double-Layer: Tuck one half inside the other so the striped tube is doubled in thickness and all edges line up evenly.
- Crochet Top Seam:
- Align the top opening flat.
- Insert a crochet hook through all 4 stitch layers (outer front, inner front, inner back, outer back).
- Slip stitch evenly across the entire top width.
- Chain 1 at the end, pull tight, and weave in tails.
- Remove Waste Yarn: Unravel scrap yarn from both ends. When you put the hat on, the top corners form structured cat ears!
Project 3: Long Cozy Seamless Tube Scarf (340–450 Rows)
No more curled edges or tedious flat purling! A machine-knit tube scarf is double-thick, squishy, and lays completely flat.

- Mode: Tube Mode (T)
- Total Project Rows: 340 to 450 rows (approx. 55–70 inches depending on yarn weight)
- Finishing Method: 2-layer crochet slip stitch edge
Step-by-Step Instructions:
- Cast On & Crank: Start with 10 rows of scrap yarn, switch to your main yarn, and crank continuously up to 340–450 rows (339 rows shown in the demonstration).
- Prevent Center Clogging (Crucial Pro Tip):
- Around row 250–300, the long knit tube inside the machine base will twist and bunch up, which can cause excessive tension and dropped stitches.
- Solution: Stop cranking, reach inside the center of the machine, gently untwist the bunched fabric, and pre-twist it in the opposite direction so it flows freely down through the center legs.
- Bind Off: Add 10 rows of scrap yarn and drop work from the machine.
- Close Both Ends: Lay the open ends flat, insert your crochet hook through both the front and back live stitches, and slip stitch across to close the tube. Fasten off and remove the waste yarn.
Project 4: Trendy Summer Halter Tube Top (105 Rows)
Turn your Sentro knitting machine into a fashion studio by making a customizable cropped halter top.
- Mode: Tube Mode (T)
- Total Project Rows: 105 rows (solid or scrap-yarn color blocks)
- Finishing Method: Single crochet hem borders + Chain 70 neck tie
Step-by-Step Instructions:
- Knit the Torso Tube: Work 10 rows waste yarn, 105 rows of main working yarn, and 10 rows waste yarn at the end. Drop work off the machine.
- Crochet Clean Hedges:
- Attach yarn to the first live stitch near the waste yarn using a crochet hook.
- Work 1 single crochet (SC) into every single stitch around the top circumference. Join with a slip stitch, chain 1, fasten off, and remove scrap yarn.
- Repeat the single crochet edging along the bottom hem.
- Add the Halter Neck Tie:
- Try the top on to identify your preferred center-front chest point (it will feel snug initially but relaxes after the first wear).
- Insert crochet hook into the center-front top edge, join yarn, and chain 70 (creates an approx. 20-inch halter cord).
- Slip stitch back into the adjacent stitch to secure, knot firmly, and weave in all loose ends.
Pro Tips for Flawless Sentro Machine Knitting
- Select the Right Yarn: Light to medium Worsted Weight (#4) yarns like Caron Simply Soft, Lion Brand Heartland, or Red Heart Soft glide effortlessly through machine hooks. Avoid stiff, scratchy yarns or uneven roving.
- Maintain Steady Tension: Don’t crank at top speed for the first 10 rows. Let the weight of the knitted tube gently pull down past the bottom ring before picking up speed.
- Fixing Tucked Stitches: If a needle fails to drop a loop, gently push the stitch down below the needle latch with your darning needle before cranking to the next rotation.
Frequently Asked Questions (FAQ)
1. Why should I use scrap yarn instead of casting off directly?
Using 10 rows of scrap yarn allows you to easily slip a crochet hook or tapestry needle through clean, open live loops without risking a dropped stitch or unraveling the main piece while finishing.
2. Can I make these projects on a Sentro 40-pin or 22-pin machine?
- Sentro 48-Pin: Ideal for adult beanies, standard tube tops, and wide scarves.
- Sentro 40-Pin: Great for child/teen beanies, slim scarves, and fitted crop tops.
- Sentro 22-Pin: Perfect for matching scrunchies, headbands, and pet scarves!
3. How do I prevent my machine from dropping stitches when changing colors?
When attaching a new yarn strand, ensure the new yarn is seated deep underneath the needle in front of the yarn guide. Crank slowly for the first 3–4 stitches to confirm the hook catches the new strand cleanly.
Start Your Next Sentro Project Today!
Whether you are whipping up market stock or making personalized gifts for loved ones, these 4 tube mode patterns demonstrate just how versatile your circular knitting machine can be.
Have you tried making the cat ear beanie or halter top yet? Drop a comment below with your favorite project, and don’t forget to check out our Sentro Knitting Machine Replacement Parts & Accessories Guide for more helpful tips and tricks!
Source Reference: Video tutorial techniques provided by ikoxun on YouTube.